A Good Enough Clojure Setup for Beginners
This document will go over a simple but effective Clojure setup aimed at beginners, and especially those used to editing Ruby, Javascript, or other dynamic languages using Atom.
The Basics – JDK and Leiningen
If you’re brand new to Clojure you’re in luck, since it’s pretty easy to install. Clojure is built to run on the JVM (Clojure the language is technically just a Java library). The JVM is incredibly ubiquitous, and thanks to this it’s pretty easy to get Clojure up and running on most machines. Try the following steps:
- Do you have JDK version 1.6+ installed?
- Check by running
java -version– Hope for something likejava version 1.8.0_65 - If not, install Java by following the instructions here.
- Check by running
- Install Leiningen, a Clojure build tool. Leiningen gives us some tools for managing Clojure dependencies and running projects or other tasks – it’s somewhat analagous to a combination of Bundler and Rake from the Ruby world. On OS X it’s easy to unstall using Homebrew:
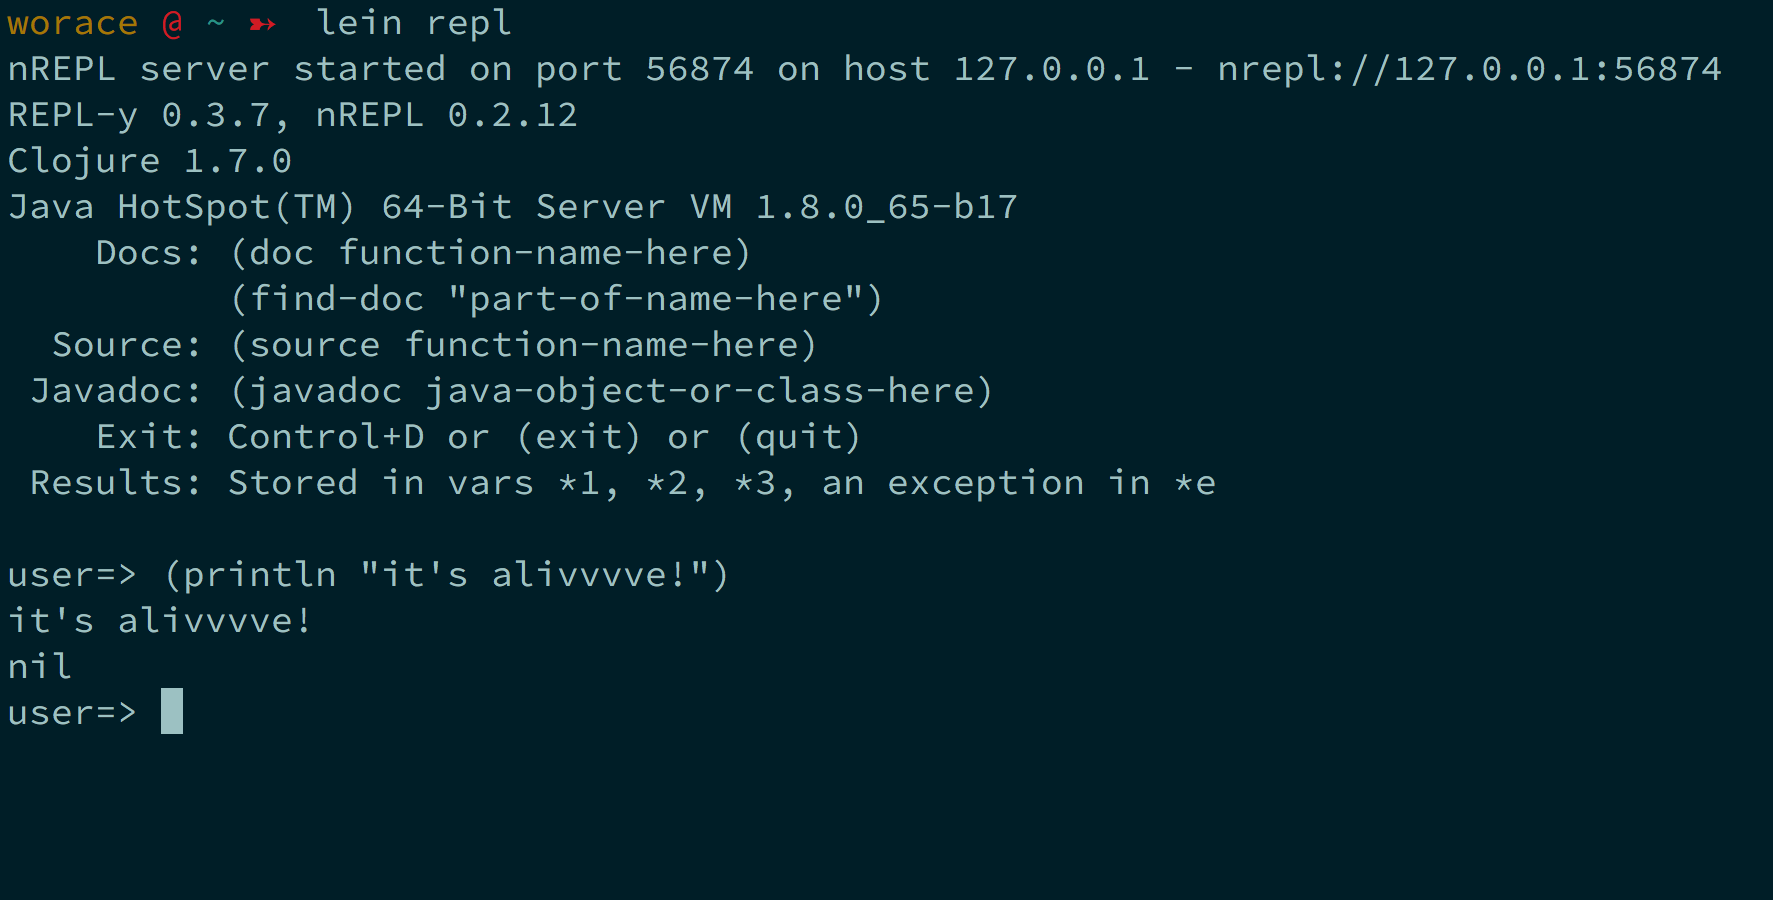
brew install leiningen. - Verify it’s all working – You should now be able to run the command
lein replto boot a Clojure REPL.
Text Editor: Atom
Atom may not be the first editor that comes to mind for doing Clojure development, but thanks to its rapidly growing package ecosystem, it’s actually possible to put together a pretty solid Clojure dev environment on top of Atom.
More sophisticated editors like Emacs or Cursive may be more popular for developers doing full-time Clojure work in industry, but the additional features and configuration are often distracting for beginners and are overkill for what we want to do anyway.
Let’s look at a few packages that make working with Clojure much nicer in Atom
Language: Clojure
The first stop is the language-clojure package – this will give us basic syntax highlighting for Clojure source files. There isn’t much to this package from a usage standpoint – install it via the atom package manager and it will just work.
Syntax Highlighting!

Proto Repl
A REPL is fairly indispensable for doing Clojure development. Clojure developers tend to emphasize a very interactive workflow – boot your REPL, experiment in it, push some code to it from your editor, then apply the insights you gain from these experiments to improving your code.
The REPL also gives us a convenient way to run tests, to read documentation (thanks to Clojure’s built-in doc string feature) – we can even use it to boot long-running processes like a webserver.
But enough REPL preaching – how do we get one? For a long time this was the biggest blocker to having a productive Clojure experience in Atom – there just wasn’t a great option for interactive REPL-driven development.
Fortunately in October, 2015 the popular proto-repl package came out and brought with it a pretty darn good REPL setup for Atom. Proto-repl feels a little different at first from other REPLs you may have used in other languages, but it doesn’t take long to get comfortable with it.
Install the package using APM and go ahead and open the REPL either using the “proto-repl” entries under the Packages menu, or using the shortcut Cmd-Option-L.
The REPL will take a second to boot, but once it does, play around with it by evaluating some Clojure code (use Shift-Enter to submit code you type at the bottom of the REPL buffer).
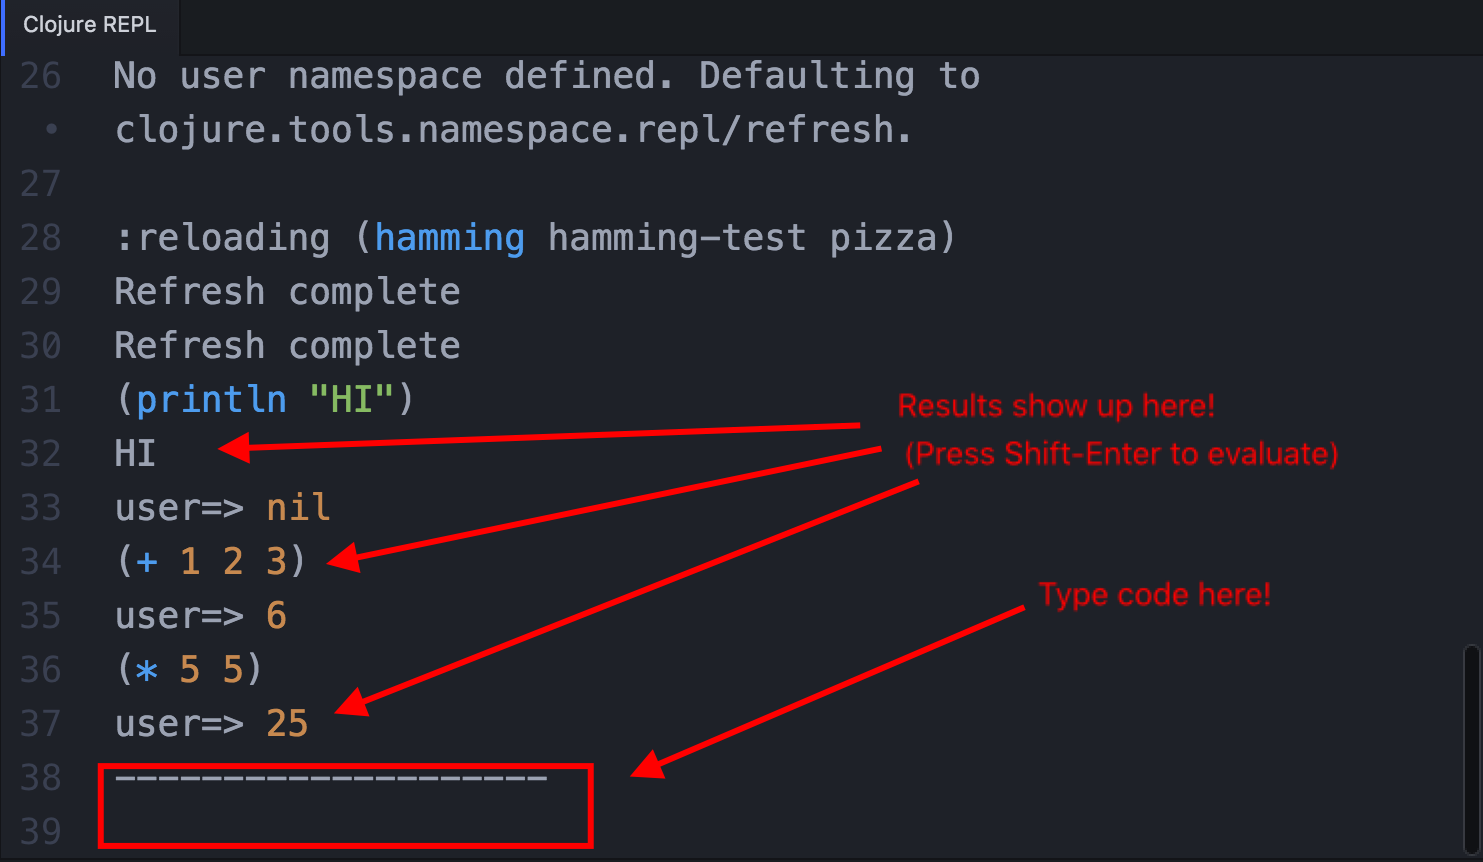
CMD-Option-L: Start the REPLShift-Enter: Submit form in REPLUp / Down Arrows: Navigate REPL historyCmd-Option-a: Run all tests in current projectCmd-Option s: Send a highlighted selection of code to the REPLCtrl-Shift-c: Interrupt (e.g. if you accidentally make an infinite loop in the REPL)Cmd-Option-r: Refresh namespaces (reload files in the current project into the repl – great for evaluating some new functions or other expressions you have written in a file into the REPL so you can play around with them there)
Finally, if you’d like to set up Proto-Repl to behave more like a traditional terminal, try adding the following keybindings to your Keymap:
'atom-pane[data-active-item-name="Clojure REPL"] atom-text-editor:not([mini])':
  'enter':'proto-repl:execute-text-entered-in-repl'
  'cmd-k':'proto-repl:clear-repl'
This will let us submit code to the REPL with ENTER rather than Shift-Enter, and also let us use Cmd-K to clear the REPL screen.
This handful of keybindings above should give you enough tools to get started working interactively with Clojure code. Proto-Repl has quite a few neat features tucked into it, so once you get comfortable with the basics you should also check out proto-repl’s documentation.
Parinfer
Newcomers often find working with Lisp code challenging, especially coming from more “traditional” Algol-inspired languages. The difficulty is that Lisp really wants to be edited structurally rather than textually.
A Lisp program is really just a Tree of expressions, and when we work with Lisp code we frequently want to manipulate the structure of this tree – Move this expression Up a level, combine this expression with the one next to it, remove this expression from the tree entirely, etc.
Sounds good, but it’s complicated by ((((all) ((those) (((((parentheses))))))))) – it’s frustratingly easy when moving some Lisp code around to accidentally drop a parenthesis, add an extra one, or just leave one in the wrong spot.
Over time developers have written tools to help manage this process. ParEdit is perhaps the most famous – it’s a popular Emacs package for manipulating parenthesis-based S-expressions in a structural way. It’s a powerful tool but like many things in Emacs it comes with a learning curve.
That’s why I’m excited by Parinfer - a tool that attempts to give a more “intuitive” or “Just Do What I Mean” approach to structural Lisp editing. The docs on Parinfer’s homepage do a better job of explaining the tool than I will, but the gist of it is inferring Lisp structures based on the indentation of a chunk of code.
As you edit code, Parinfer will attempt to guess the most sensible S-expression structure you intended based on the indentation and spacing you typed in the code. For example removing the indentation of a nested expression might be interpreted as “move that expression UP one level.” The great thing about Parinfer is there’s not too much to learn – just type correctly formatted code and it will (mostly) do the right thing.
Luckily for us there’s a great Parinfer implementation for Atom:
- Install the atom-parinfer package with APM: https://github.com/oakmac/atom-parinfer
- Play around with editing some Clojure code in your editor (make sure the file extension is set to
.clj) – what happens when you type parentheses, indent them, or un-indent them? - Parinfer is pretty good at its job but every now and then you’ll get into a sticky situation that needs to be sorted out manually. Don’t forget you can use
Cmd-Shift-9to Toggle from “Indent” mode (what Parinfer normally does) to “Paren” mode (what we would do when just manipulating text in a more traditional editor)
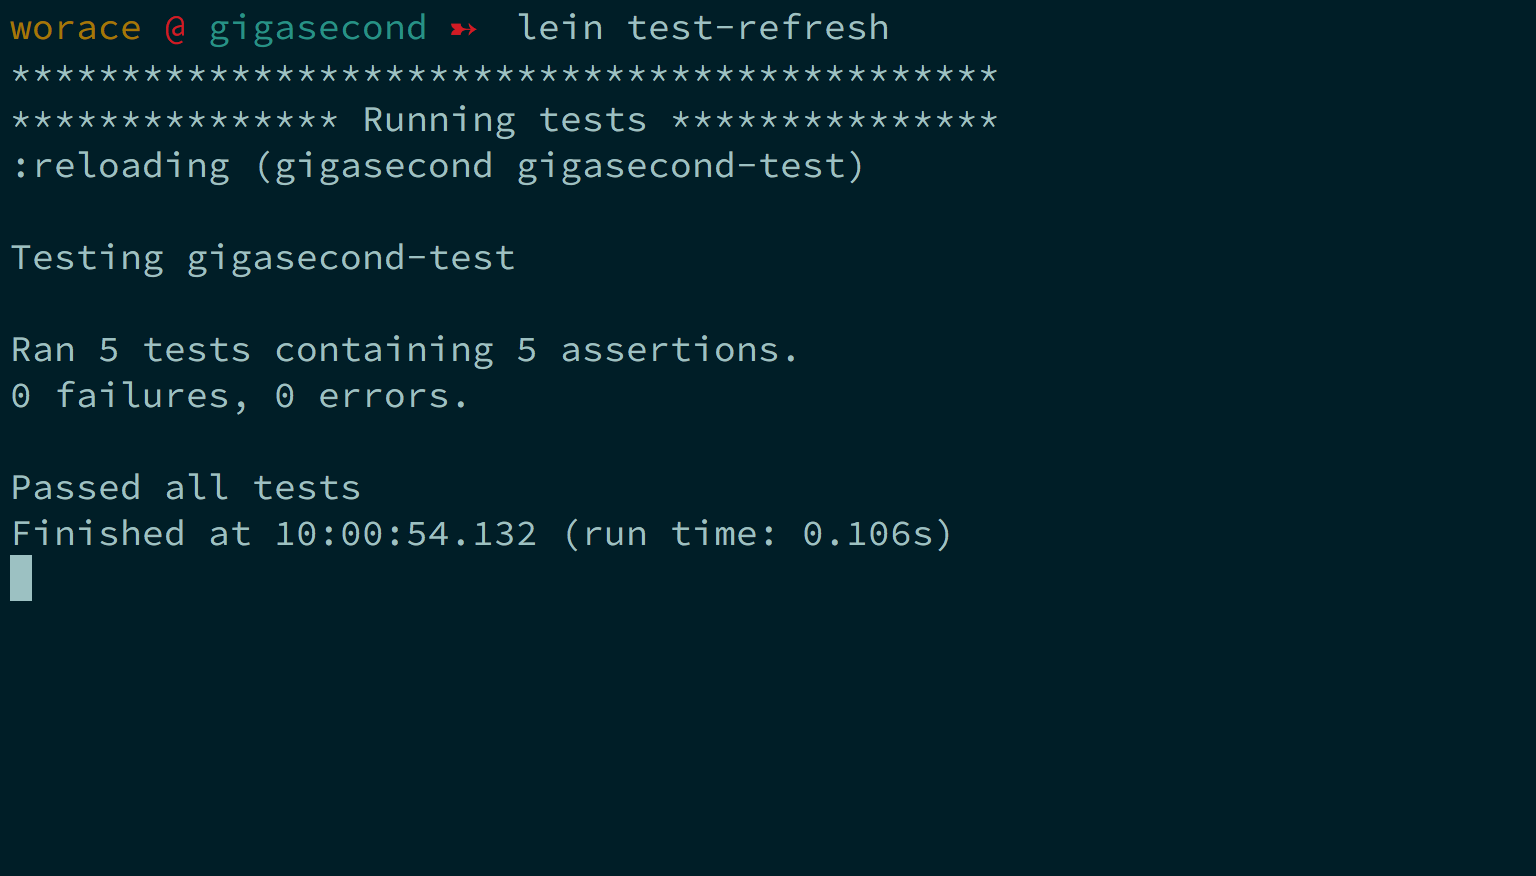
Auto Testing: Lein Test Refresh
The last Clojure tool that I find truly essential is a test-runner package called lein-test-refresh. It gives us an awesome “run my tests when I save a file” experience for Clojure.
Test-refresh is a leiningen plugin, so the easiest way to install it is to add it to your system-wide “user” leiningen profile, which is defined in the configuration file at ~/.lein/profiles.clj. To include the plugin, add it to your leiningen configuration like so:
{:user {:plugins [[com.jakemccrary/lein-test-refresh "0.15.0"]]}}
Keep in mind that your profiles.clj file just contains a Clojure (technically edn) data structure. If your profiles.clj is empty, you can simply paste the above line into the file. If you already have the :user and :plugins entries defined, you’ll need to add this new plugin vector ([com.jakemccrary/lein-test-refresh "0.15.0"]) within the existing :plugins list.
With this plugin installed, you can now run lein test-refresh within any directory containing a project.clj file, and leiningen will watch for your files to be edited and then run the tests in response. It’s a great way to get really quick feedback from our test suite when working with code.